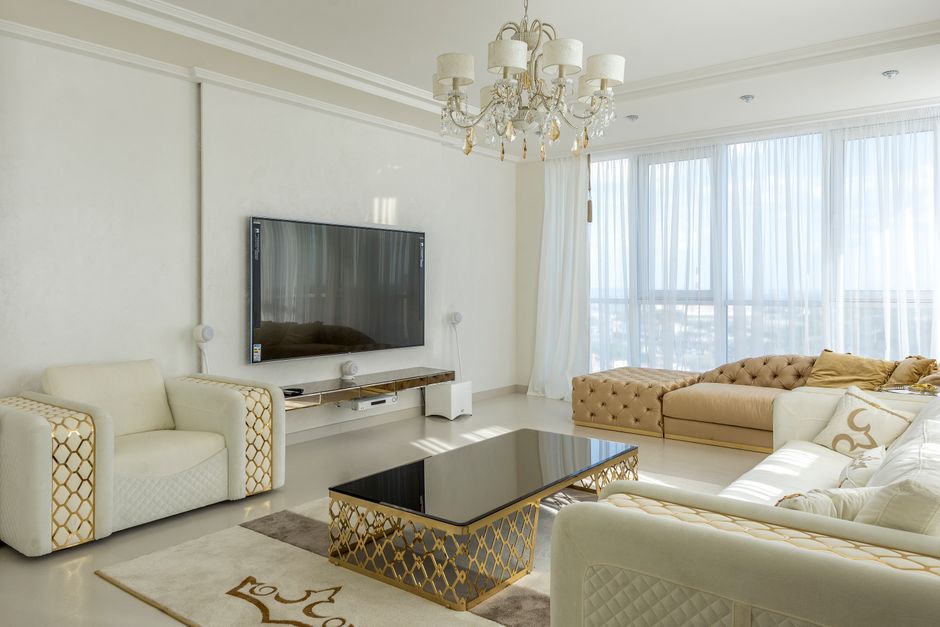
Your living room is more than just a space to unwind. It's a reflection of your personal style and a showcase for your creativity. And there's no better way to express that creativity than through DIY decor projects. With a few simple materials and a bit of imagination, you can transform your living room into a space that feels both inviting and uniquely yours.
In this article, we will walk you through five DIY decor ideas that will revitalize your living room without breaking the bank. From updating old furniture to crafting bespoke wall art, these projects are not only budget-friendly but also easy to execute. Let's dive in!
1. Revamp Old Furniture with Chalk Paint
Old furniture can weigh down your living room's aesthetic, but with a little chalk paint, you can breathe new life into tired pieces. This method is perfect for those looking to give their furniture a rustic, shabby-chic look.
Materials You Will Need
- Chalk paint in your chosen color
- Paintbrush
- Sandpaper (medium grit)
- Coffee grounds (optional for distressing)
- Soft cloth
Step-by-Step Process
- Prepare the Surface: Start by lightly sanding the furniture to remove any gloss. This helps the paint adhere better.
- Apply Chalk Paint: Use a brush to apply a coat of chalk paint. Let it dry for about an hour, then apply a second coat for full coverage.
- Distress for Character: For a vintage look, lightly sand edges and corners. You can also rub coffee grounds on sanded areas for an aged effect.
- Seal the Paint: Once you're satisfied with the look, buff the surface with a soft cloth to seal the paint and give it a soft sheen.
"Chalk paint is ideal for creating a versatile, weathered look that fits perfectly in any living room setting."
2. Create a Gallery Wall
A gallery wall instantly adds personality to your living room. It’s an opportunity to showcase your favorite art pieces, family photos, and even mementos.
Choosing Your Art
Select pieces that resonate with you. Mix different sizes and frame styles for an eclectic look. Consider themes, like black and white photos or colorful abstracts, to create cohesion.
Installation Tips
- Use painter's tape to map out the layout on the wall before hanging your art.
- Start from the center and work outward to maintain balance.
- Ensure each piece is securely hung using proper wall anchors.
Gallery walls are dynamic and can be updated over time. Swap out seasonal prints or add new finds for a fresh look.
3. DIY Pallet Coffee Table
Crafting your own coffee table from wooden pallets not only saves money but also adds a rustic charm to your living room. This project is surprisingly straightforward.
Materials Required
- Wooden pallets (2-3 depending on size)
- Wood screws
- Sandpaper
- Wood stain (optional)
- Casters (for mobility)
Building Steps
- Prepare the Pallets: Sand the pallets to smoothen any rough edges and surfaces.
- Stack and Secure: Stack the pallets to your desired height and secure them together using wood screws.
- Stain and Seal: Apply wood stain for a polished look, or leave them natural for a raw aesthetic.
- Add Mobility: Attach casters to the bottom pallet for easy movement.
"A pallet coffee table is not only functional but can also be a conversation starter in your living room."
4. Hang DIY Fabric Wall Art
If you're looking for a quick and easy way to add color to your walls, fabric wall art is your go-to solution. This method can be as simple or elaborate as you like.
Materials Needed
- Fabric of your choice
- Canvas frame or embroidery hoops
- Staple gun or strong glue
Assembly Process
- Select Your Fabric: Choose a pattern and color scheme that complements your living room.
- Frame It: Stretch the fabric over a canvas frame or within an embroidery hoop, securing it with a staple gun or glue.
- Display: Hang your fabric art using nails or adhesive hooks for a no-fuss installation.
This project is fantastic for renters or those who like to change decor often, as it’s easily customizable and removable.
5. Install Floating Shelves
Floating shelves are a sleek way to display books, plants, and collectibles. They add storage and style without taking up floor space.
Installation Guide
- Choose Your Shelves: Find shelves that match your room's style. Options vary in materials like wood, glass, or metal.
- Measure and Mark: Use a level and tape measure to ensure your shelves are evenly spaced and straight.
- Secure to the Wall: Use wall anchors to support the weight of your items on the shelves.
"Floating shelves can transform a dull wall into a vibrant display space while providing practical storage."
Conclusion
Revamping your living room decor doesn't require a hefty budget or professional skills. With these five DIY projects, you can create a space that is both stylish and personal. Each idea offers a unique way to showcase your taste and creativity, whether through painting, crafting, or organizing.
Remember, the key to successful DIY decor is to enjoy the process and experiment with different styles and techniques. Your living room should be a place that feels like home and reflects who you are. So, grab your tools and let your imagination run wild!